Configuring Microsoft Entra Admin for Azure SQL Managed Instance (MI) ensures secure identity management and streamlined access control.
In this guide, we’ll walk through the steps to set up Entra Admin directly from the Azure Portal, making it easier to manage authentication and permissions for your SQL MI environment.
Steps to Configure Microsoft Entra Admin for Azure SQL MI
- Open your SQL Managed Instance in the Azure Portal.
- Go to Settings and select Microsoft Entra ID.
- Grant the required permissions by assigning the Directory.Read role to either the system-assigned identity or a user-managed identity in Microsoft Entra ID. – Click on the warning sentence on the top and assign the permissions.
- Click the Set Admin button at the top.
- Choose the user email address or group name you want to assign as the Entra Admin.
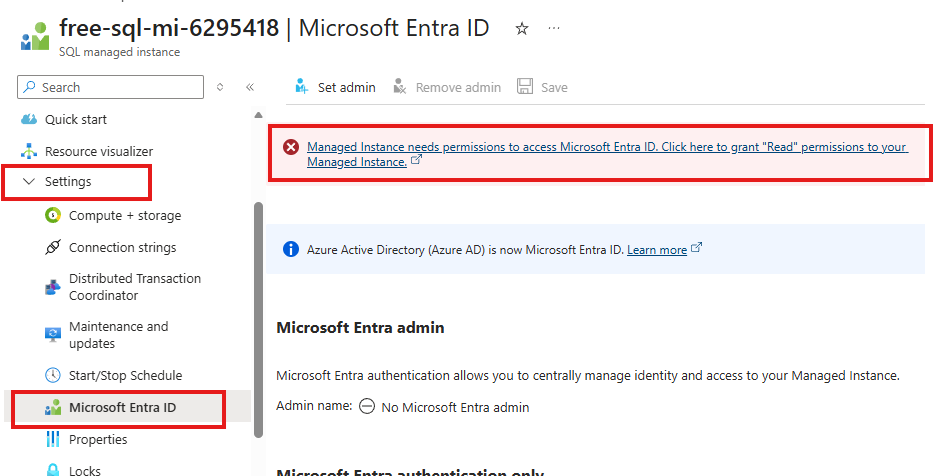
Step 1: Open the settings in SQL MI
From the Settings menu, select Microsoft Entra ID and then click the highlighted option at the top of the screen to assign permissions for accessing Entra ID.
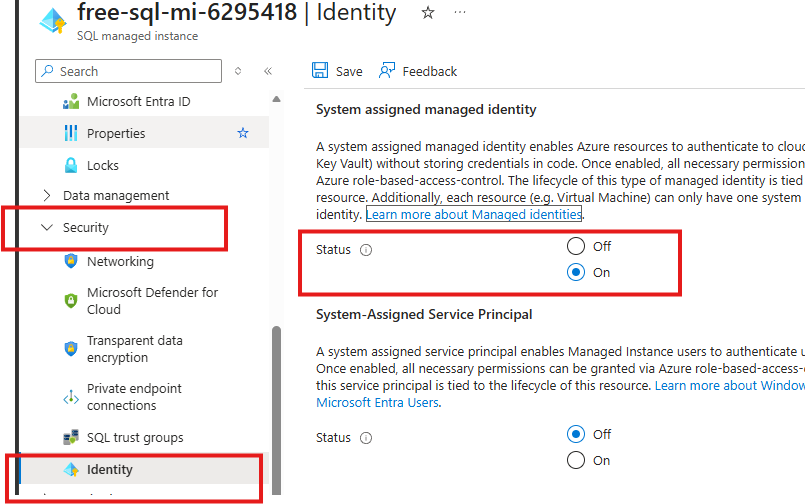
Step 2: Assign read permissions to User or System assigned identity
There are two ways to assign read permissions on Entra ID in SQL Managed Instance.
- Using System assigned managed Identity
- Using User assigned managed identity
In this method, we can use system assigned managed identity. I haven’t turned on my system assigned identity from the Identity section as shown in the below image.
You can directly click on the warning sentence and assign the permissions as shown in the below image.
Note: To assign the read permissions on the SQL MI Identity, you need to be a company administrator or a Global administrator.
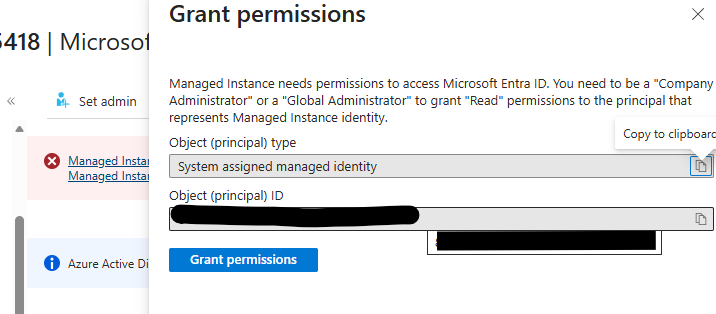
Once the permissions are granted, the system assigned managed identity will turn to on state automatically in few minutes.
Step 2: Choose the user or group name as Entra Admin
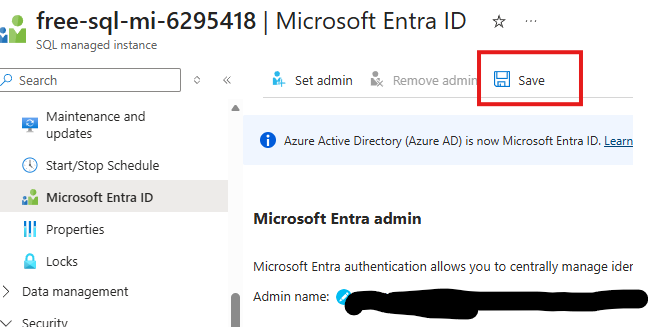
In the Microsoft Entra ID tab, select the Set admin button to select the appropriate user email address or group name to assign as the Microsoft Entra Admin. This ensures that the chosen account or group will have administrative control over the Azure SQL Managed Instance, allowing them to manage authentication and access permissions effectively.
I chose myself as admin and clicked on Select to confirm.
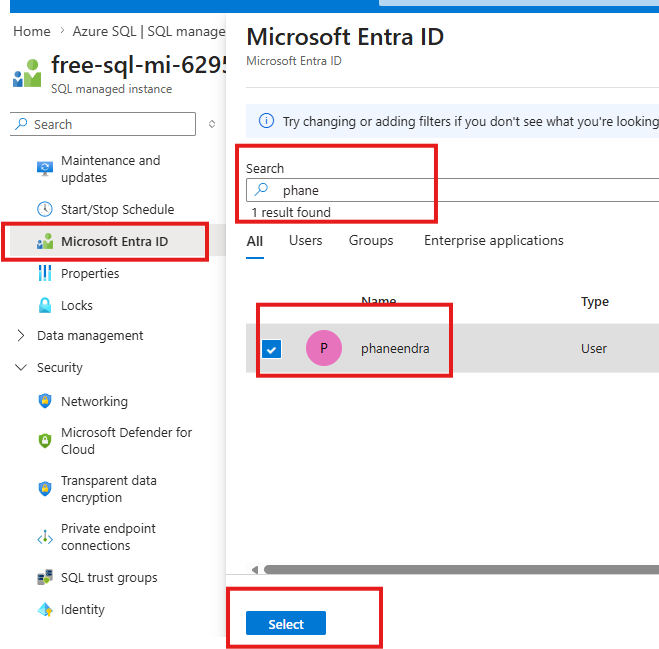
Click on the select button and Save the change, by clicking the Save button on top.
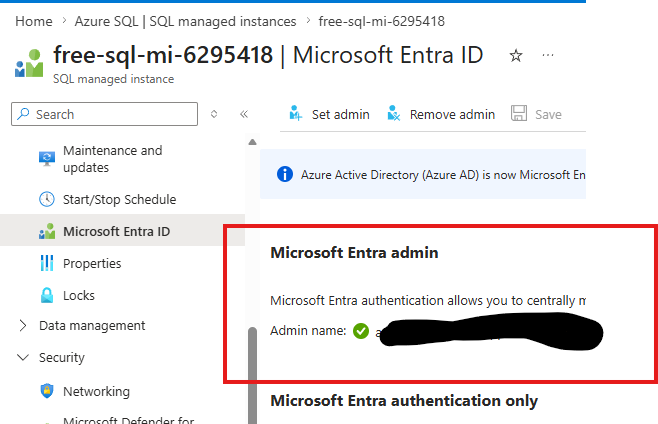
Once saved, the Entra ID admin setup is complete, and a green checkmark will appear next to the admin’s name.
That’s a wrap! You’ve successfully configured Entra ID in SQL Managed Instance using the Azure Portal. Thank you for reading! If you have any queries, let’s chat – either drop a comment below or find me on LinkedIn. I’ll respond as quickly as I can.
Also Read
Entra ID Connection Strings for Azure SQL Managed Instance
For more blog posts, visit CloudNerchuko.in